
Well, if you made the mistake of putting decking down with stainless steel screws like I did, you may have run into this issue before. Either you didn't drill a decent pilot hole, or it was getting to be too hot, and you were in a rush, it doesn't matter. The bottom line is that …
Category: Home Improvement
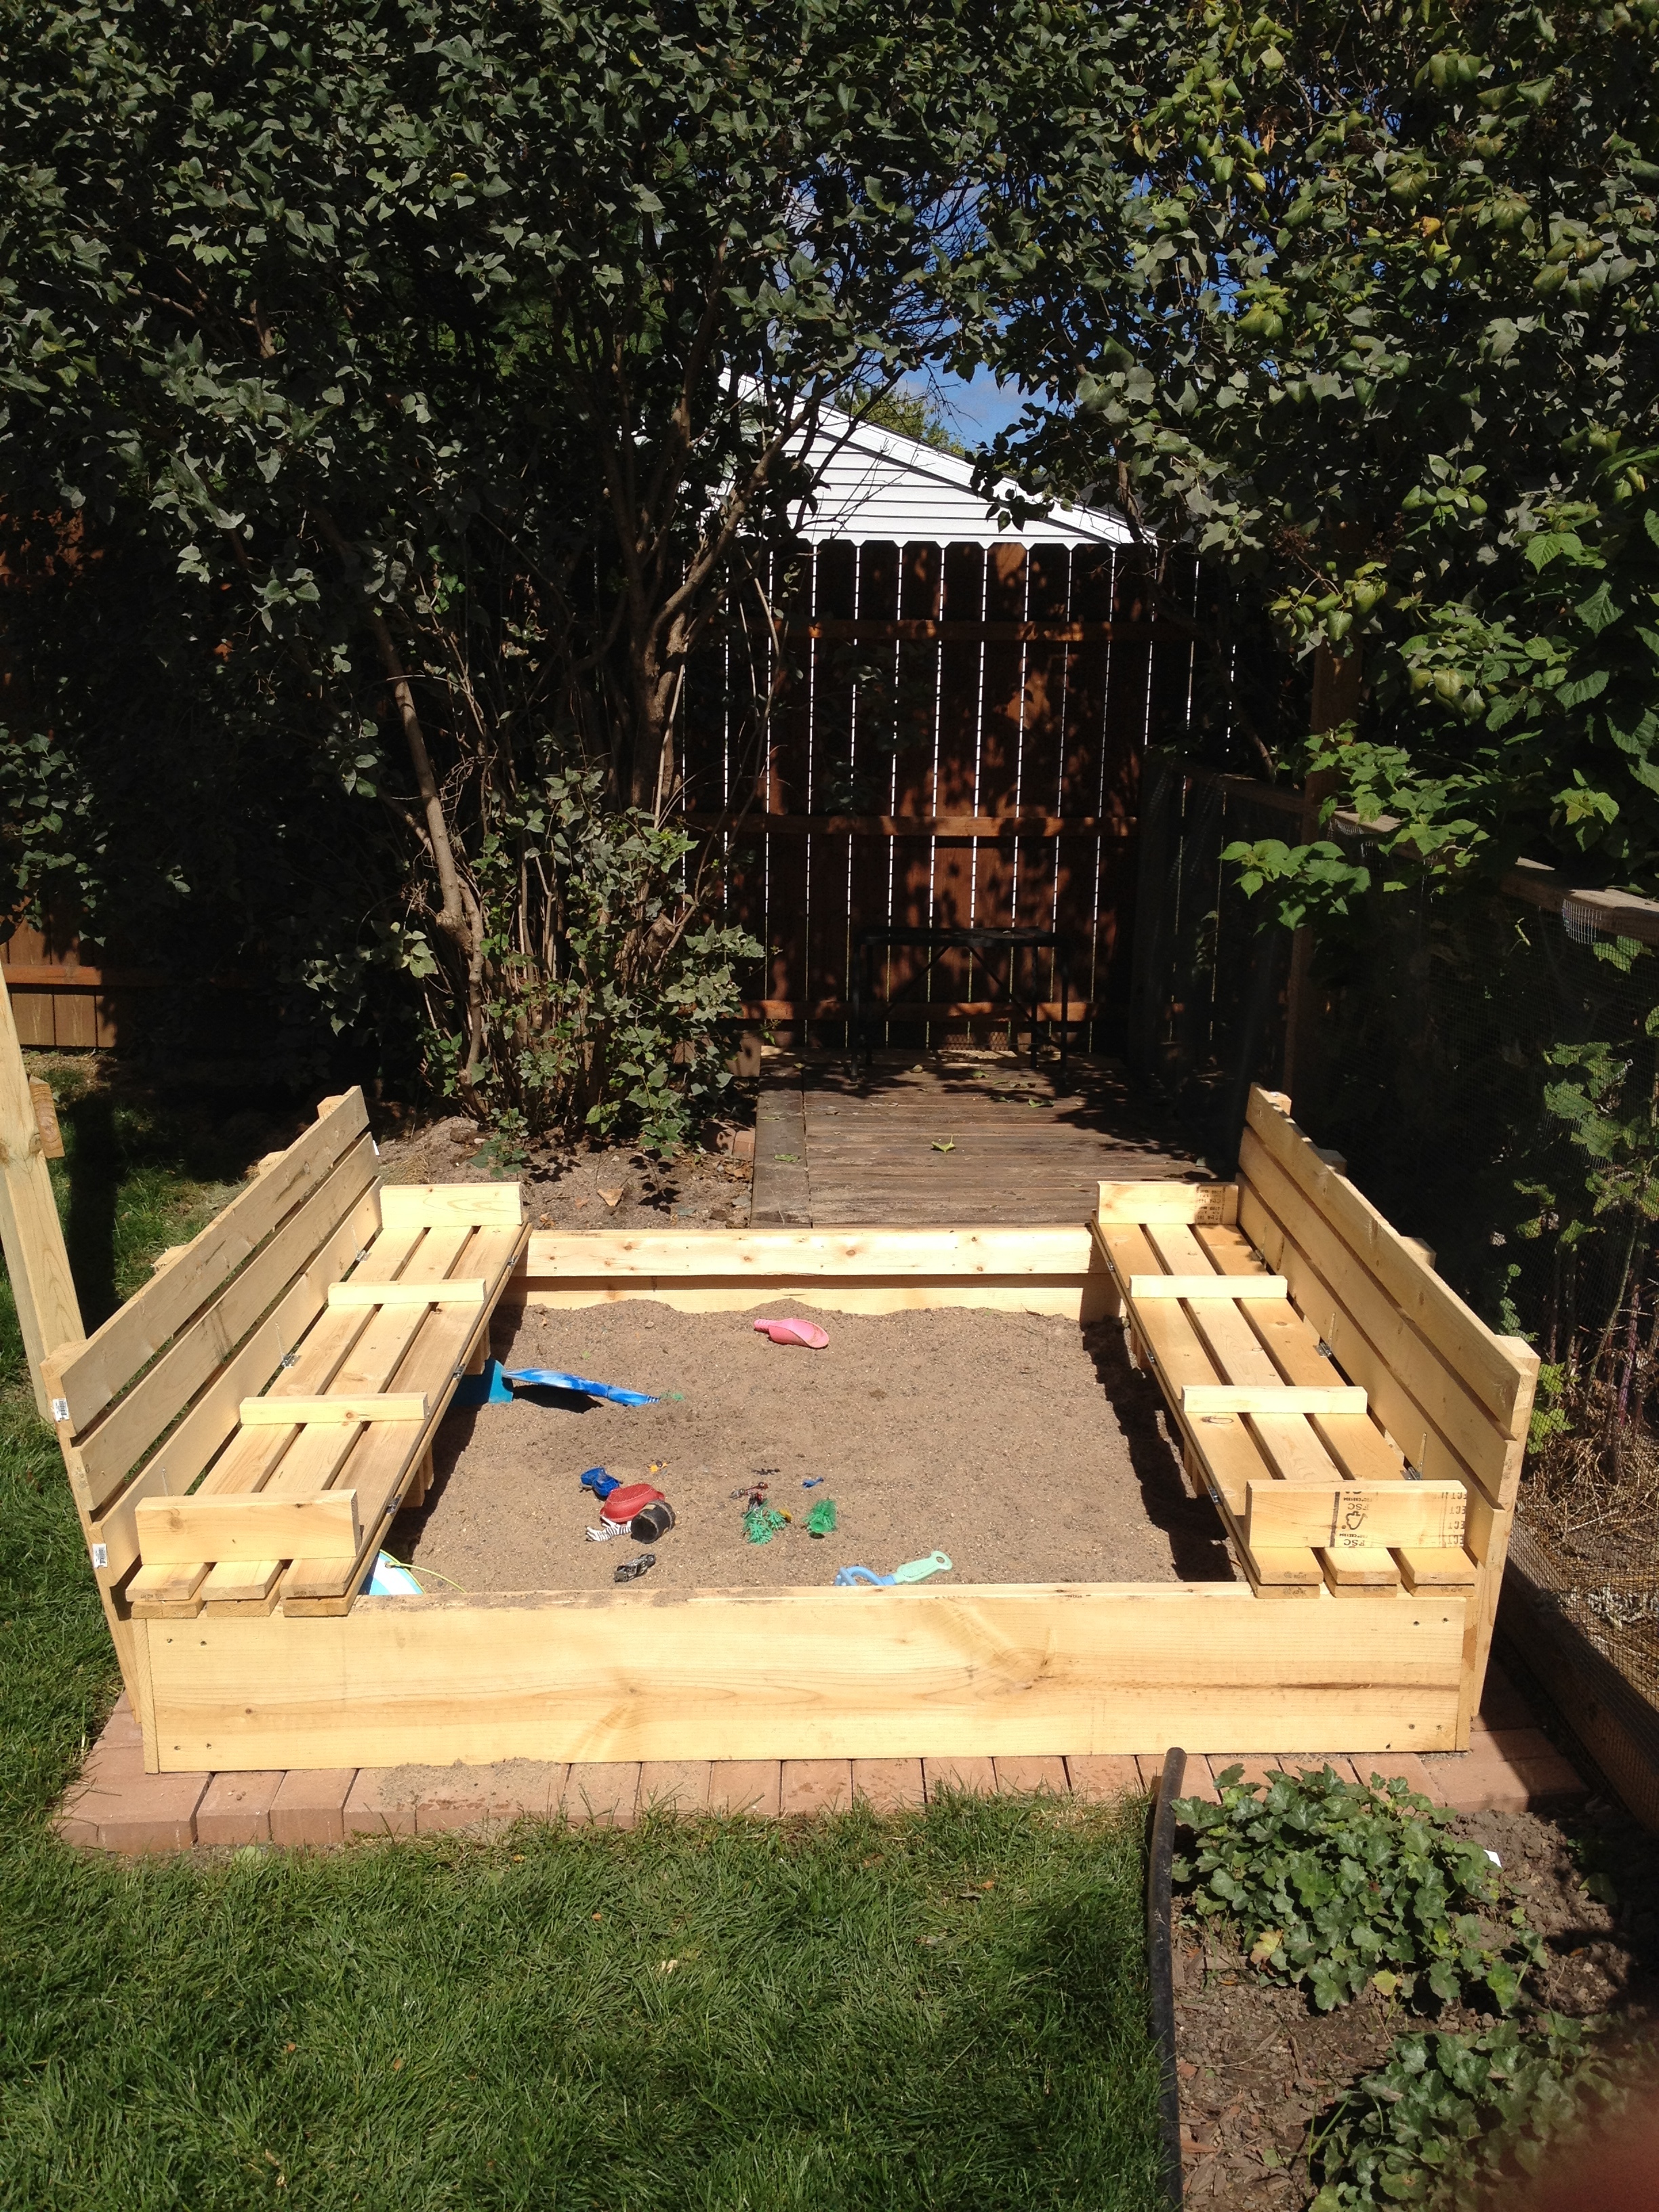
Sandbox
I finally built a sandbox for the kids (just in time for winter, right?). I've been meaning to all summer, and planned to do it as soon as our landscaping was done in the back yard. It took longer than I thought to finish up the landscaping, and after that, there were a few other …